|
Windows 10 / Server 2012/higher Installation |

|

|
|
|
Windows 10 / Server 2012/higher Installation |
|
|
Windows 10 / Server 2012/higher Installation
|
Windows 10 / Server 2012/higher Installation |
|
|
|
|
Windows 10 / Server 2012/higher Installation |
|
|
If your target installation machine is running Microsoft Vista, Microsoft Server 2012, or a version of Windows 7 or 8 or 10, use the following procedure to install Captools/net (note : your operating system must support the Windows Internet Information Services, component, which may not be available in some lower level versions of Windows, e.g. Windows 7 "Home Edition"):
Non-Microsoft Security Software Advisory - If you are using non-Microsoft security software, it is preferable that you temporarily turn that software off during the Captools/net download/install process. Then upon completion of the install you can resume using your security software, taking care to "Allow" Captools related programs (those listed on the Captools Server Control Panel) when first prompted by your security software. If you do not know how to manage your third party security software, we recommend that you un-install it and install or activate Microsoft's "Security Essentials" and "Windows Firewall" instead.
Download the installer program called CTNetSetup.exe, from the Captools website using www.captools.com/ctnet/WU/CTNsetup/CTNetSetup.exe. Please save it to your "Downloads" folder overriding any Windows or Browser warning.
To launch the CTNetSetup, right click and use the "Run As Administrator" option (note: you must be logged in to Windows with administrator rights).
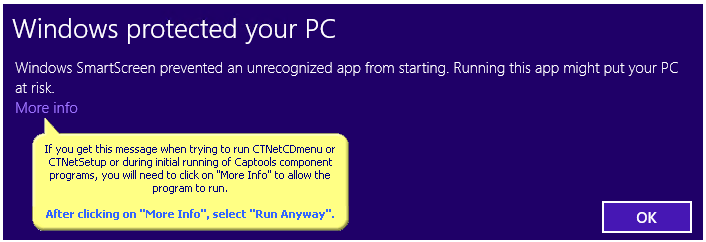
If you get a Windows warning, similar to the following in the installation process, you will need to "allow" it to run as per the following:
Once the CTNetSetup launches you will see the following screens:
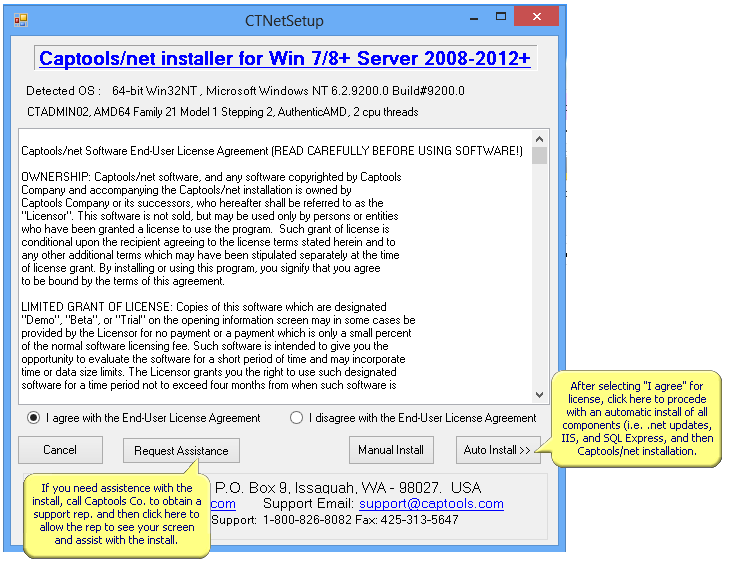
Please always use the "Auto Install" button, unless instructed otherwise by Captools Co. support staff.
On the following screen, specify whether you want to use an existing SQL database or you are installing a new one. For most new installations you should specify using a "new" one even if you have other software that is using SQL Server.

Click "Next" to proceed.
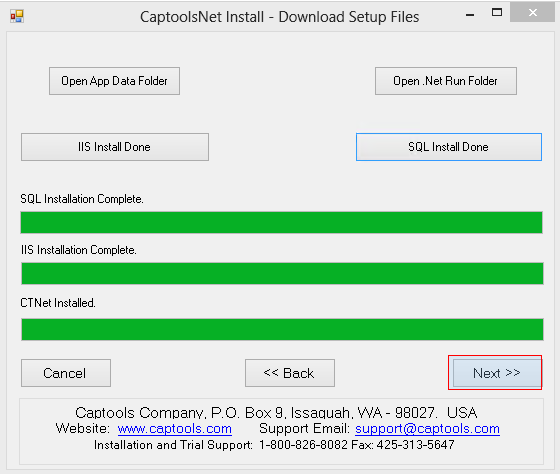
You will next see the progress of the IIS Configuration, the SQL download and installation and the Captools/net Installer download.
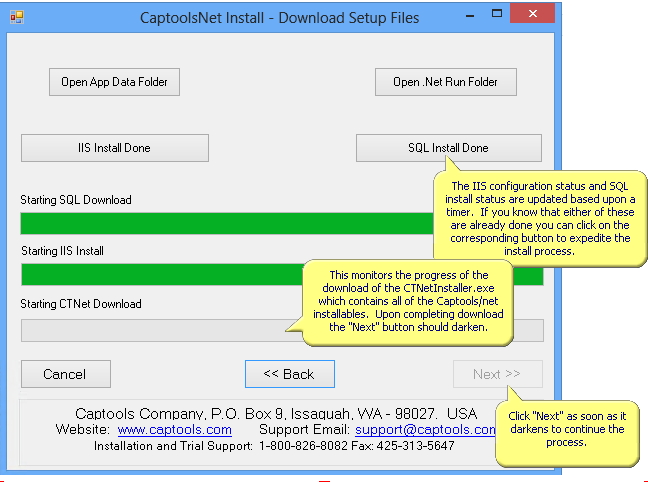
Because the installer cannot reliably detect when the IIS configuration and SQL Installation are finished, the progress bars move based upon a conservative estimate of the time required. You can speed the installation by using the Windows Control Panel, Administrative Tools to confirm the presence of the IIS Manager and view Windows Services to confirm the presence of "SQL Server (CAPTOOLSDBINST), and then click on the "IIS Install Done" and "SQL Install Done" buttons.
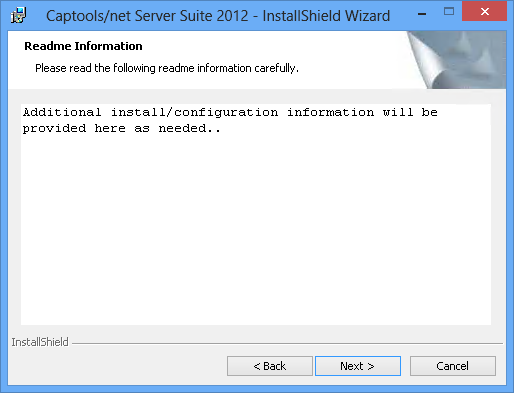
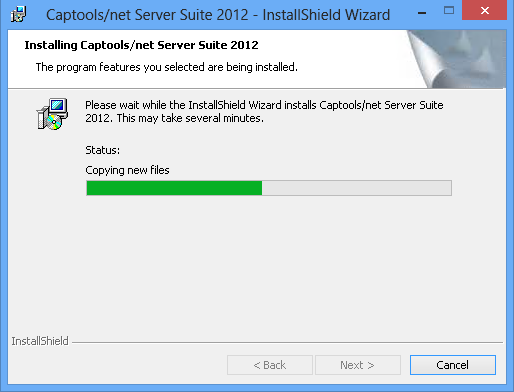
When the "Next" button on the screen activates (darkens), click on it to launch the Captools Installer, which will appear as follows:
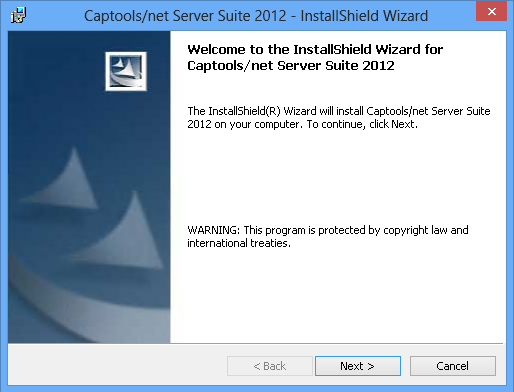
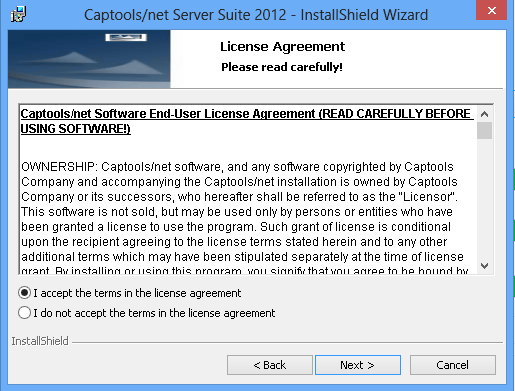
You must repeat the confirmation of your acceptance of the Captools licensing to proceed:
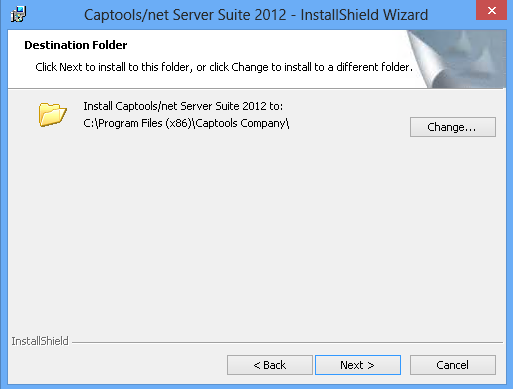
You are encouraged to use the default folders for the installation, but do use the "change" buttons below to specify another drive if the main drive has limited space.
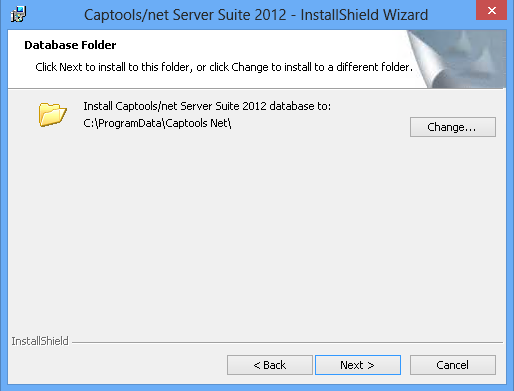
We strongly advise using the "Anyone" option on the screen below, otherwise the Captools/net data will be placed under the "Users" folder in Windows, which is several levels deeper than "\Program Data" making it more difficult to find and also subject to data loss if the user is deleted from the system.

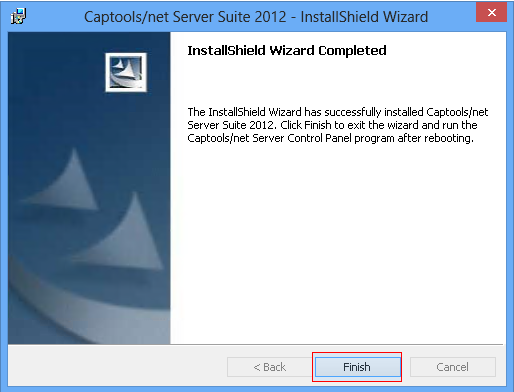
Upon finishing the InstallShield Wizard, control is returned to the CTNetSetup program as per below. Click on "Next".
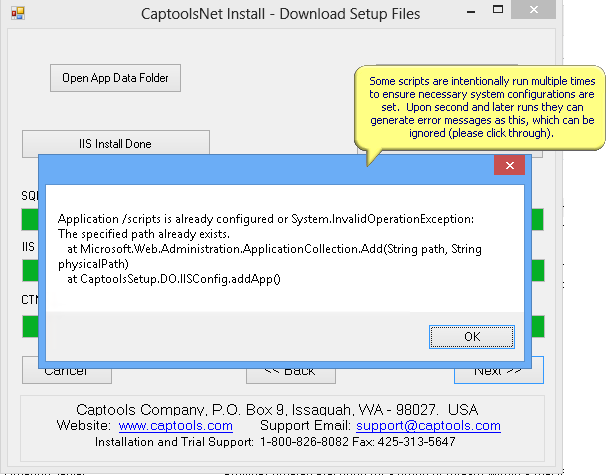
After clicking "Next" the CTNetSetup will re-run a number of Windows setup scripts in background. These are re-run because on occasion the first run of the scripts do not succeed due to dependency and timing issues.
On the second run some of these will produce error messages as seen below which are the result of the script having success the first time around. Please simply click "OK" to close these.
Next, click "Finish" to close the CTNetSetup.
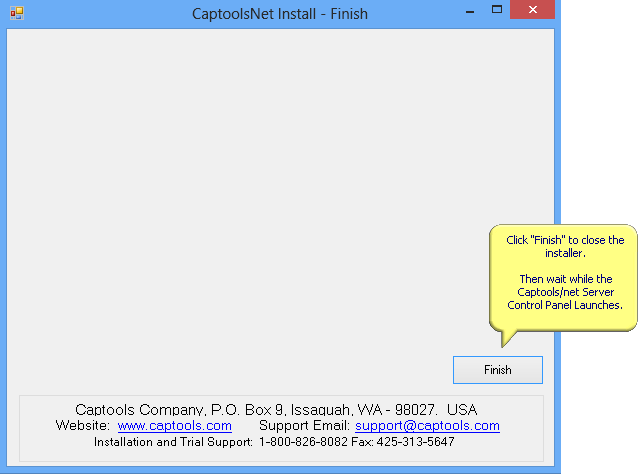
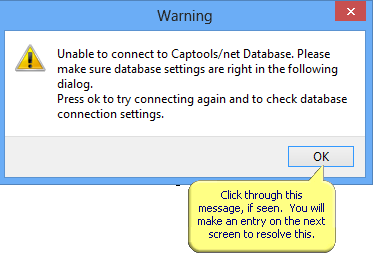
Upon finishing up the CTNetSetup issues a command to launch the Captools/net Server Control Panel program. Please wait a minute. If it does not launch, look for the green icon "CT Ctrl" and click in it to launch the Server Control Panel. If you get the following error message, it may be due to timing in getting the database started or due to the need to provide a database password. Click "OK" to proceed to the next screen.
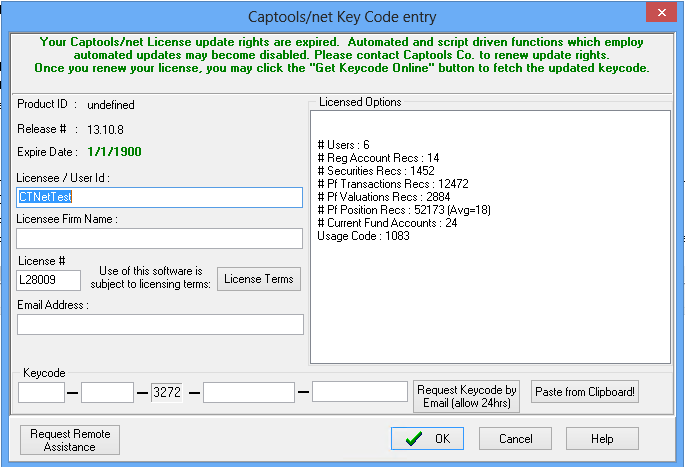
Typically, unless you are doing a re-install, you will need to enter a "Key Code". You will need to provide Captools Co. with the "Machine Id" (3rd field in keycode) before they can generate your keycode. If you are working with a support rep, they often will be able to get the keycode for you, otherwise please email "admin@captools.com" with the four characters in the Machine Id, and the keycode will be emailed back to you.
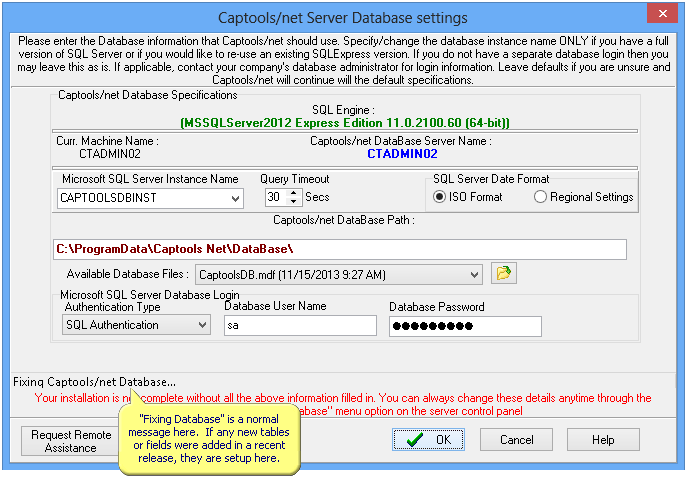
After the keycode is installed, the Database settings dialog will appear. Usually you can just click "Next" or "OK", but occasionally it may be necessary to enter the standard password as shown below.
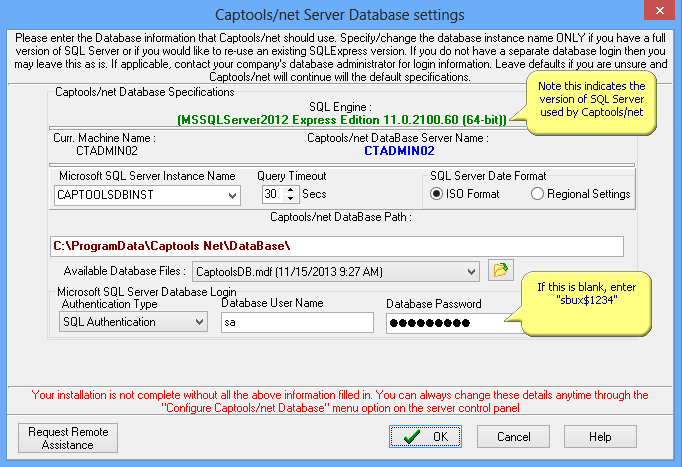
Prior to leaving the Database screen you will see a message about "fixing the database" as per below. This is normal following an install, as this updates the database structure for any new tables or fields in the database.
Finally, click "Next" or "Ok" on any remaining dialogs, such as the email setup dialog, as these can be revisited later.
Upon launching the Server control panel will appear as follows:
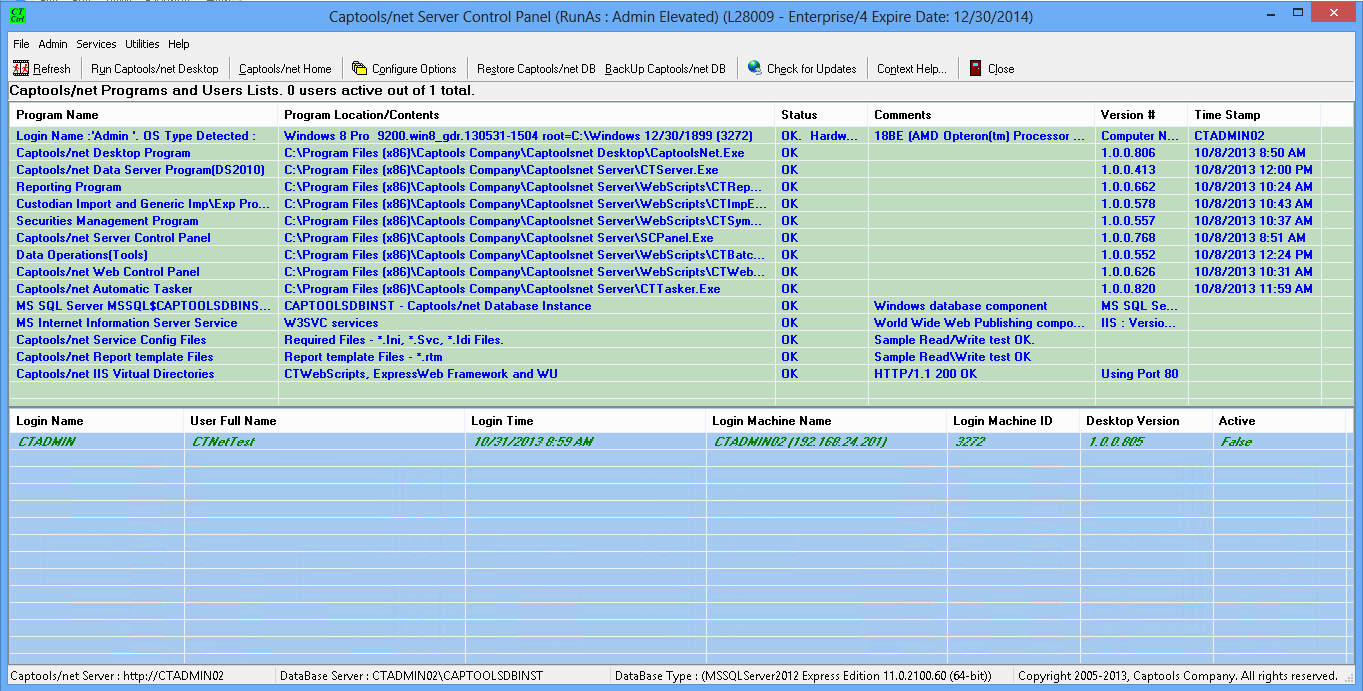
If line items in the screen above appear in red, that indicates a problem, in which case you may need to consult with Captools support to get these resolved.